Master Seed Saving: Permaculture Self-Sufficiency Basics
By SeedSavers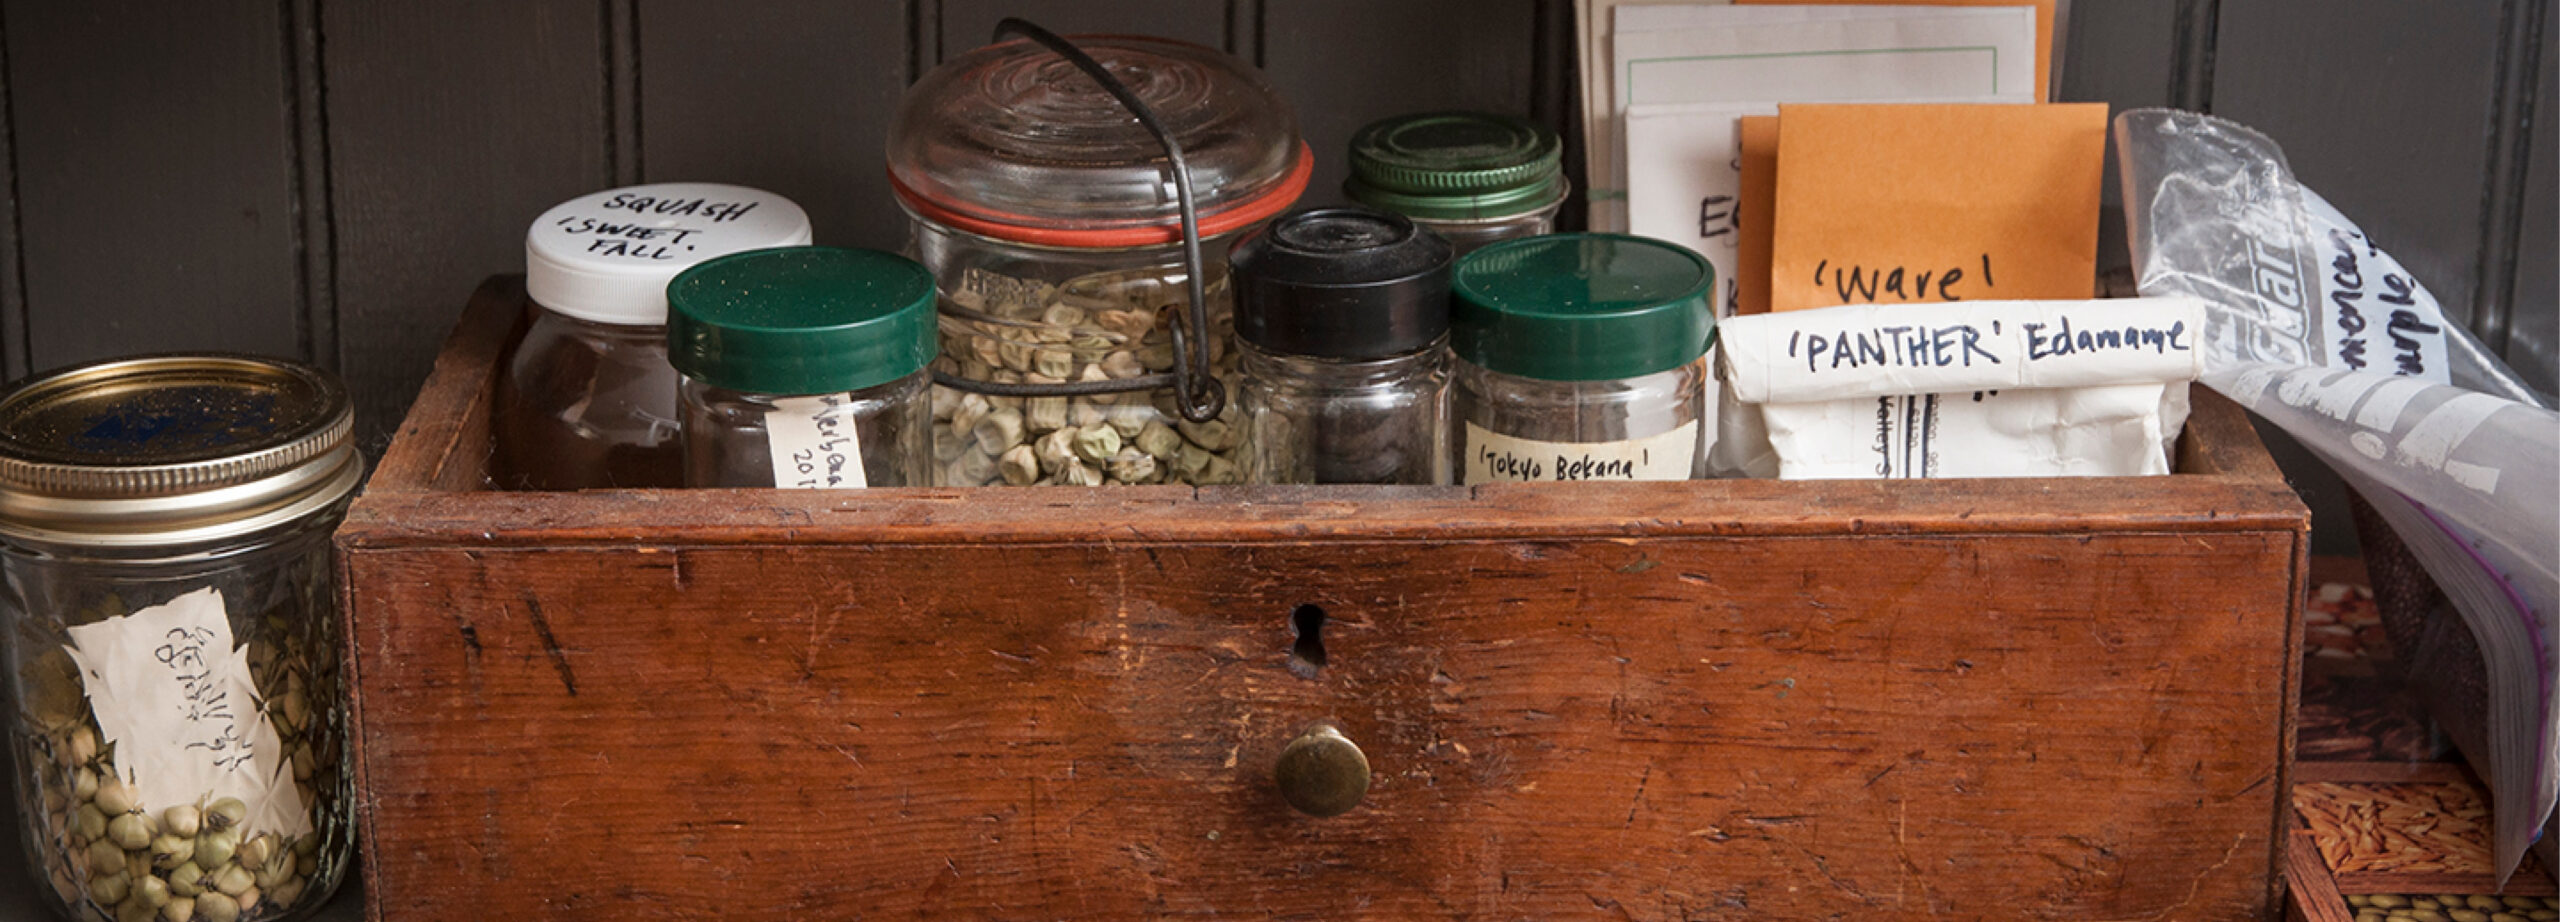
TL;DR: Mastering seed saving essentials ensures a self-sufficient garden, preserving genetic diversity and adapting crops to local conditions.
- Learn processing for various crop types.
- Effectively separate seeds from pulp.
- Rinse and dry seeds thoroughly.
- Store seeds in stable conditions.
- Boost garden resilience and reduce costs.
Why it matters: Implementing seed saving techniques directly enhances food security and fosters plant adaptation to local environmental changes, crucial for regenerative practices.
Do this next: Start by saving seeds from one easy-to-process, open-pollinated crop from your garden this season.
Recommended for: Home gardeners and community organizers interested in practicing self-sufficiency and biodiversity conservation.
This resource outlines core seed saving basics with specific processing steps for various crops, ideal for beginners building self-sufficient seed banks in permaculture settings. For cavity-seeded crops like squash and cucumbers, slice fruits in half and scoop seeds; for flesh-embedded seeds in eggplant and watermelon, slice and squeeze, step on fruits, or blend in a food processor to dislodge. Separate seeds via soaking in cool, dark water for 4-12 hours, which eases removal of pulp and immature seeds—rinse afterward for clean viability. These methods ensure high-quality seeds by removing inhibitors, promoting thorough drying and storage in stable conditions. Applicable to regenerative living, the techniques support preserving open-pollinated varieties that adapt locally, enhancing resilience against climate variability and reducing seed costs. Practitioners gain concrete protocols for efficient extraction, using simple tools like bowls and processors, scalable from home gardens to community efforts for biodiversity conservation.[4]