DIY Bottle Drip Irrigation: 2-Month Max Watering Hack
By Permaculture facile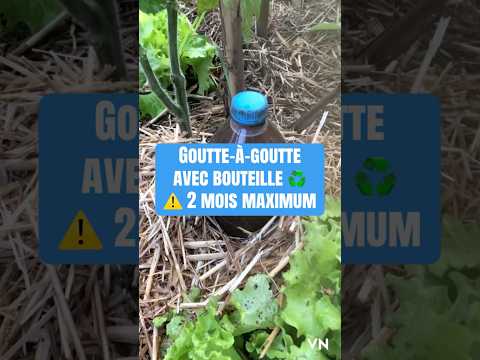
TL;DR: A DIY drip irrigation system using a repurposed plastic bottle offers a temporary solution for efficient plant watering for up to two months.
- Repurposed bottles provide effective drip irrigation.
- A small hole in the cap controls water release.
- Bury bottle cap near roots for best results.
- System is ideal for short-term watering needs.
- Minimizes water waste and evaporation.
Why it matters: This simple, low-cost method allows gardeners to provide consistent moisture to plants, especially during dry periods, without constant manual intervention.
Do this next: Create a small hole in a plastic bottle cap and invert it into the soil near your plants for targeted watering.
Recommended for: Gardeners seeking an immediate, cost-effective method to provide consistent moisture to individual plants for up to two months.
This video demonstrates a simple, temporary drip irrigation system utilizing a repurposed plastic bottle, suitable for short-term watering needs, specifically for a maximum duration of two months. The method is presented as a practical solution for gardeners looking to provide consistent moisture to plants without constant manual watering, particularly useful during dry spells or for plants requiring steady hydration.
The core of the system involves a plastic bottle, preferably one with a capacity of 1.5 to 2 liters, which is prepared by making a small hole in its cap. This hole is crucial as it controls the rate at which water is released. The size of the hole is important; it should be small enough to allow for a slow, steady drip rather than a rapid pour, ensuring that the water is absorbed by the soil effectively and minimizes runoff. A common technique is to use a heated needle or a small drill bit to create this opening.
Once the hole is made, the bottle is filled with water. The next step involves positioning the bottle in the soil near the plant that requires irrigation. The bottle is inverted and pushed into the ground, ensuring that the cap with the small hole is buried a few centimeters below the surface. This placement allows the water to slowly seep out directly into the root zone of the plant, maximizing water efficiency and reducing evaporation that typically occurs with surface watering.
The video emphasizes the temporary nature of this system, highlighting its utility for a period of up to two months. This limitation is likely due to several factors. Over time, the small hole in the cap can become clogged with soil particles or mineral deposits from the water, impeding the flow. Additionally, plastic bottles exposed to sunlight can degrade, becoming brittle and potentially leaching chemicals into the soil, although this is less of a concern for short-term use. The system is also not designed for long-term, large-scale irrigation, as refilling multiple bottles regularly would become time-consuming.
This DIY drip irrigation method is particularly beneficial for individual plants or small garden beds. It can be a valuable tool for establishing new plantings, supporting plants during vacation periods, or providing supplemental water to thirsty species. The simplicity of the design means it can be implemented with minimal cost and readily available materials, making it accessible to a wide range of gardeners, including those new to permaculture or with limited resources. The approach aligns with permaculture principles of resourcefulness and efficient water use, transforming waste materials into functional tools for sustainable gardening. While effective for its intended short duration, users should monitor the system to ensure continuous water flow and refill the bottles as needed.